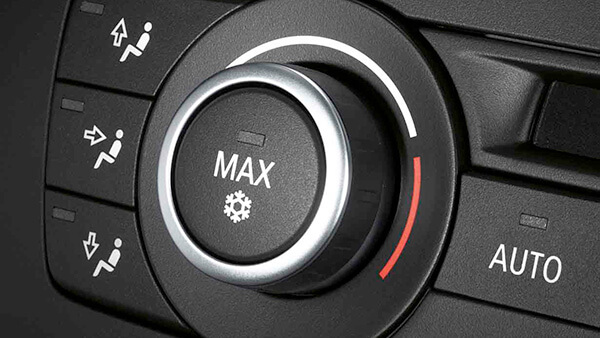
I always tell people that cars come with responsibility. And I will repeat is again. Cars come with lots of responsibilities. At times they will even break even when you are in a financial dilemma. For that reason, learning some DIY skills for basic mechanics is a step in the right direction. You could use this lesson in a bad day.
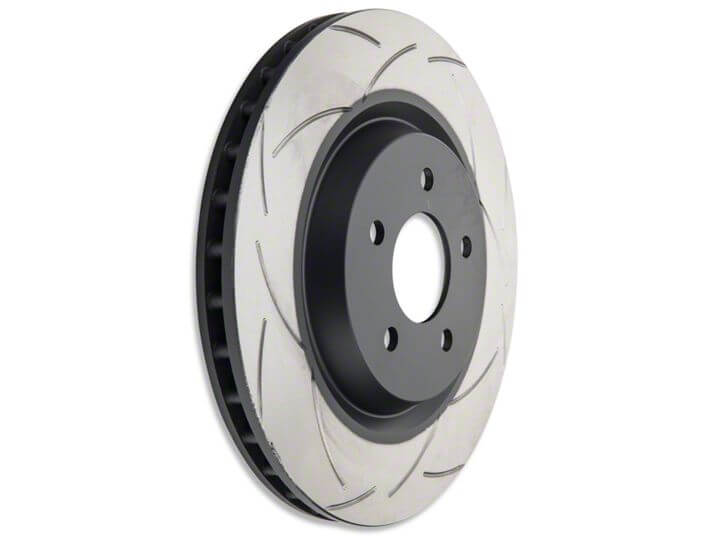
Changing front brake rotors is a common maintenance item on today’s cars equipped with front disc brakes. Brake rotors are considered to be a “wear” —meaning that over time it is expected that they will be replaced as a normal part of vehicle operation.
Luckily, if you are an automotive enthusiast or even a novice mechanic this is a job that you can do relatively simply. However if you are not, here is an overview of the process for replacing front brake rotors on most vehicles.
You Will Need:
Tools – A basic toolset consisting of sockets and a ratchet handle, as well as screwdrivers of both of the common types. A fairly comprehensive toolset can be purchased for less than Ksh5000. Make sure the tool set that you purchase is the appropriate one for your vehicle.
Jack – It’s best not to use the emergency jack that comes with your vehicle’s spare change-out kit for this type of work.
Stands – It’s important that your vehicle is safely supported on stands when you’re working on it to minimize the risk of injury.
Wheel Chocks – To prevent the vehicle from moving while you work.
Miscellaneous – Some other things that might come in handy are protective gloves (latex or nitrile: to keep your hands clean), a flashlight (for looking in those dark spots), a can of brake parts cleaner and some clean rags (they always seem to come in handy).
Prepping the Car
First, park the vehicle on a level surface and set the brake. Now position the wheel chocks in front of and behind one of the rear wheels. Once the vehicle is ready, go ahead and loosen the lug nuts one full turn before you lift the wheel off the ground.
This will help you avoid bothersome wheel spin once the car is up in the air. Next, position the jack underneath the factory lift point (commonly just behind of the front wheel, check your owner’s manual) and lift the car until there is about 1 to 1.5 inches of space under the wheel. Go ahead and remove the wheel and then lower the car onto a stand.
Removing the Caliper
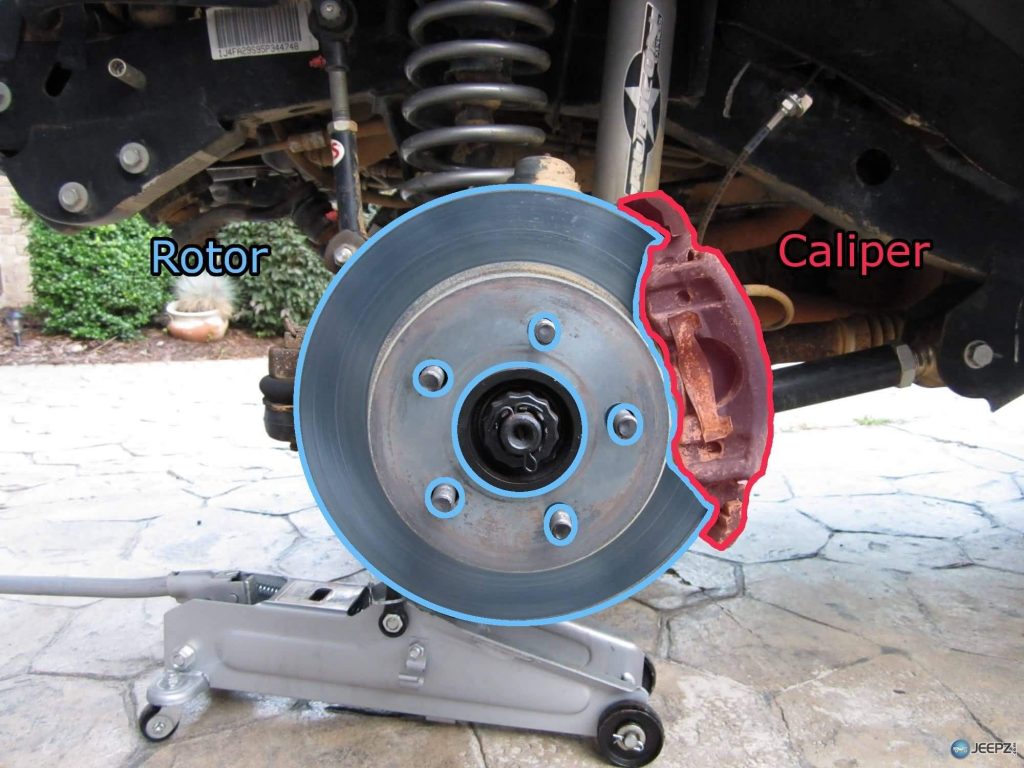
Now that the wheel is removed, the brake rotor and caliper will be easy to see. The rotor is the round metal disc that is positioned directly on the hub where the wheel mounts. The caliper is the crescent shaped piece that is mounted over the rotor.
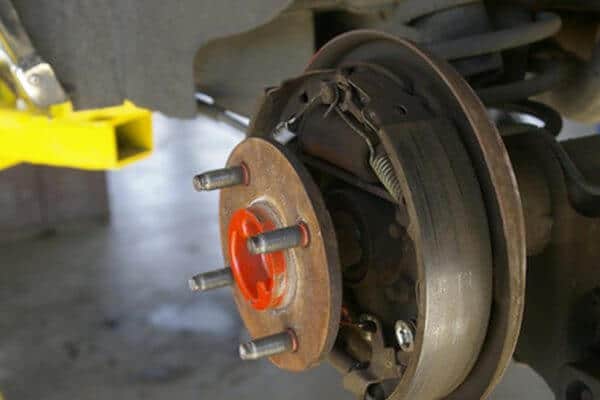
To remove the rotor, you will first have to remove the caliper which holds it in place. This is relatively simple to do—there should be 2 (sometimes 3) bolts, normally mounted on the caliper’s back side. Remove these, and the caliper will slide free of the rotor.
Removing and Inspecting the Rotor
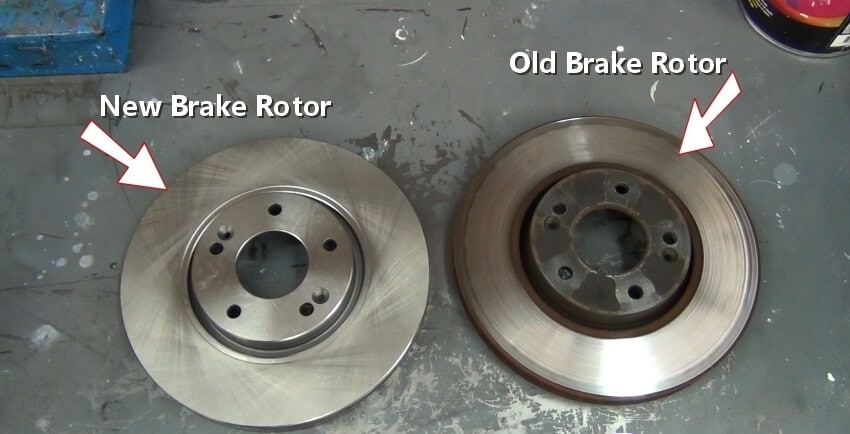
Once the caliper is removed, the rotor should be free to slide off the hub (if not, look for locking screws on the hub itself). Remove the rotor (careful, it’s heavy) and take a look at its condition. Rotors in good condition (free of scoring or cracking) can often be resurfaced and reused.
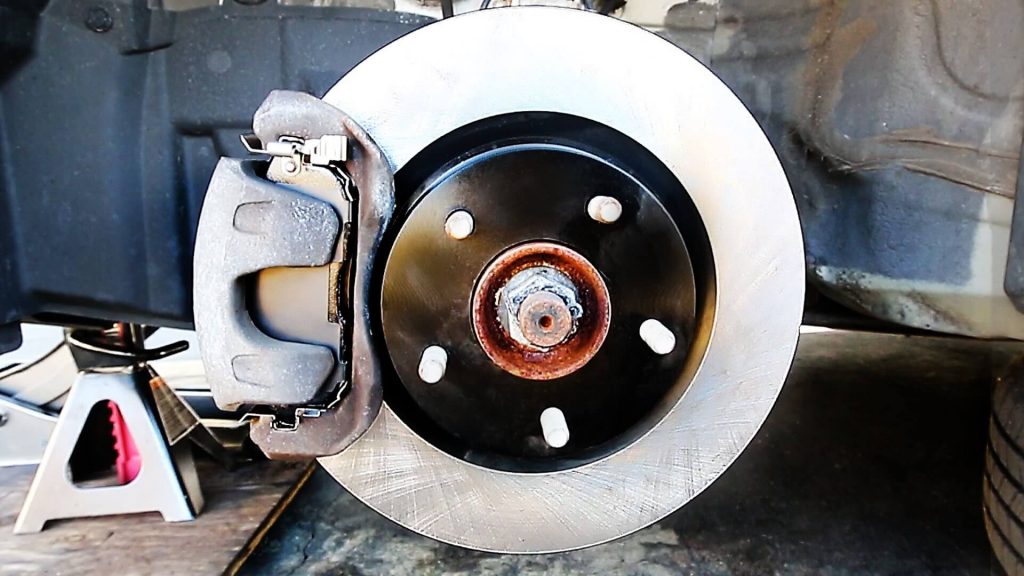
A rotor that can’t be resurfaced will have to be replaced. Once the rotor is resurfaced or replaced, assembly is the reverse of removal. Now is also a good time to consider replacing brake pads.