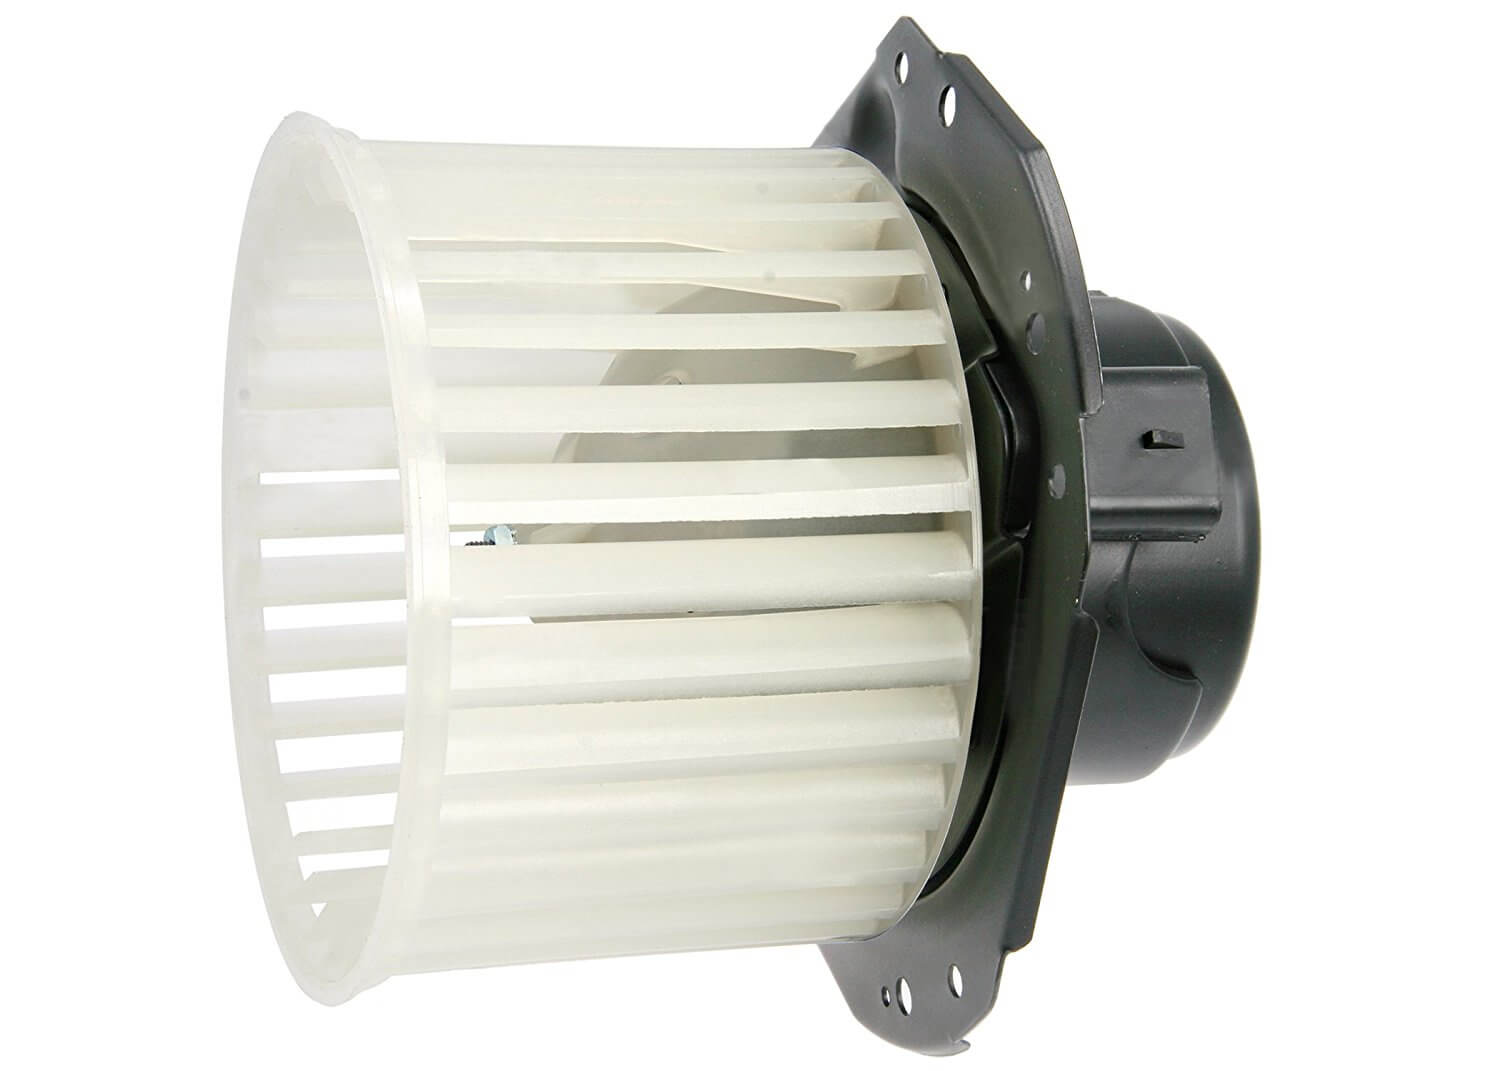
Heat and air conditioning can make the difference between a comfortable drive or a brutal one. While a blower motor doesn’t heat or cool the air, it is a critical component of your car’s ability to do so, as it’s responsible for pushing the heated or cooled air through the vehicle’s HVAC vents.
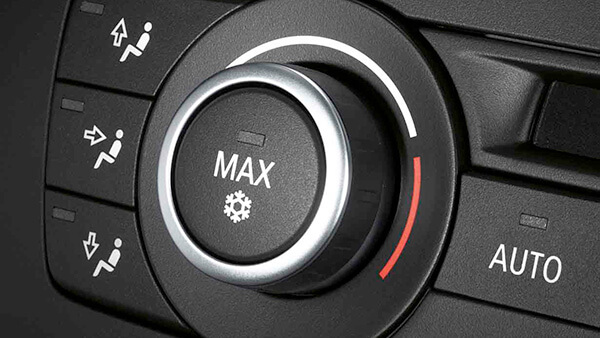
The most common sign of a failed blower motor is an air conditioning and heating system that doesn’t respond to the HVAC controls. Turning the knob to high results in no air movement from the vents. Some vehicles give warning signs of a failing blower motor, like a whining or grinding noise from the passenger-side footwell when the heat or AC is on.
Another giveaway is when the heat or AC won’t turn on until going over a speed bump, or taking a light bump or kick to the dash area. Eventually these warning signs lead to blower motor failure, so get it fixed yourself today.
Before getting too far into this job, though, it’s recommended that you rule out other causes such as a relay, a climate control-related computer trouble code, a failure of the heater controls or blower switch or any other electrical problems. It may take some expertise for diagnosis on any of these, but it beats replacing the blower motor unnecessarily.
Step by step guide
- Safety first: Park on a flat surface with the parking brake on. Pop the hood and disconnect the battery.

- Find the blower-motor location in the repair manual. It is usually in the passenger-side footwell area, below the glove box. Vehicles built before the mid-late 1990s often have the blower motor located in the engine bay on the passenger side firewall, in plain sight.
- Remove lower trim panel below the glove box. Depending on the model, this usually requires removing a few bolts. There may be plastic connectors and clips as well. If so, be gentle with them so they come back together properly with no rattles or loose surfaces.
- Open and remove glove box (optional on some vehicles). This usually only requires pushing retaining clips aside to unlatch the glovebox from the housing.
- Going headfirst into the footwell with a flashlight, look up until you locate the blower motor.
- Locate the three to six bolts keeping it in place, and remove with sockets and ratchet. Chances are these will be metric-size bolts
- The blower motor assembly should slide out, allowing you to slip off the HVAC vent connections. Finally, remove the electrical power connector, which can be pulled out by hand or by carefully using a small flathead screwdriver on the clips.
- Compare the old blower motor to your new part, and orient the new piece as if it were installed. There may be a gasket to replace as well.
- Plug in the power connection, and slide HVAC vents on. Slide the blower motor into its bracket and bolt down.
- Replace glovebox and lower trim panel. Reconnect the battery.
Turn on the engine and test operation by selecting different levels of heat and air conditioning. Make sure it blows forcefully with no unusual noises.